Monday, November 28, 2022

Prize, or Pig in a Poke 2.0

I noticed the tool post when I first saw the lathe and suspected immediately based on the appearance of the tool post and tool holders that it is original to the lathe and is a Dickson. The finish of the tool holders is a curious blend of rough milled and finely ground surfaces that I found surprising.

Based on comparisons to the machined surfaces on other known Dickson tool holders and on the Colchester Chipmaster price list my suspicion was confirmed. My lathe was purchased with the optional "Colchester Type No. 259" quick change tool post. So that is a bit of good news. 

The 
type No. 259, is actually the Dickson Tool Post in size S1 size. It came with four Standard Tool Holders No. 83116, one Morse Taper Tool Holder No. 83118, and supposedly one Vee Tool Holder No. 83117. I don't recall seeing the vee tool holder among all the others. I'll have to check on that later.


I may make minor changes to improve functionality and durability of the tool post and holders. For instance I'll be treating the tool post and holders with black oxide finish. I'll be replacing the square head clamping screws in the tool holders with cap head screws to be able to use T-handle Allen Wrenches. 

I'm missing the following original parts rom the tool post itself:

Locating Pin 24821-0,

Collar 24819-0, and

Nut 24842-0, but have non-original nut.

I cleaned these parts in multiple batches, and did not keep track of precise numbers of holders and small parts for the tool holders, but I am definitely missing a couple of clamping screws. I checked the box of odds and sods but I didn't see anything there that obviously belonged to the tool post in there.

I ran into issues and discovered that my evaporust gel had the gel part solidify into a solid mass and render the gallon useless... that pisses me off and slows things down especially since it took my a day of searching to find the pail in storage.

Apparently I forgot to take pictures of the tool post itself...


The Assessment... Prize, or Pig in a Poke?

I wont go into detail about the second time I moved the lathe, this time from Milton Ontario to Pickering Ontario, because I didn't take any pics and that all went smoothly except....

Let's just say that picking up 1250 pound machine by the bare metal of the base, with bare metal forks requires care and attention. The lack of friction will permit a machine to slide right off the forks if the tractor or skid steer you are using departs from level in any of three directions. Twelve hundred pounds of machine will kill or maim anyone it hits.

So we spread out the forks to provide a wider base, and used load binders to fasten the lathe to the tractor during the lift. Pro-tip, remove the load binders before trying to back your loader away from your trailer to avoid embarrassment if there are any onlookers.

Given the long day we left the lathe on the pallet ready to lift the next day with our gantry crane and electric hoist.


With the lathe finally in our own shop I could begin to systematically tear down and clean portions of the lathe to catalogue what is missing and what essential parts must be replaced with OEM parts in order to meet my standards for a quality restoration.

Where original parts are no longer available I'll try to machine new parts to the original specifications, but I may make minor changes to improve functionality and durability. 

I could easily see that the finish is pretty poor. With worn, cracking, and peeling paint. The ways and lead screw looked okay visually, but a light surface rust has formed in a couple non-critical places on the cross slide.

I found that the lathe had no oil in either the head stock, variator or the gear box. The oil levels in the apron remain a mystery for now. 

I purchased 5 liters of Morlina 10 for the variator and headstock from Variate Ltd in Toronto, Ontario, Canada. I could not find a local supplier of ISO Tellus 68 oil for the gear box, or rather I haven't heard back from the company Shell referred me to, so I will just use an equivalent sold by Canadian Tire; Certified AW68 Anti-Wear Hydraulic Oil, it's about $100 for 18.9 liters, or $40 for 5 liters.


But before tackling the head stock, gear box and variator I wanted to assess the easier items first, so onto assessing the accessories first.

What was at first excitement at seeing a KC15 collet chuck quickly turned to disappointment when I found that the chuck was missing the front cap required to retain the collets and that there were only two collets out of what should be a set of 12. At least there are two chuck keys.


Initially I was not sure were Burnerd Multisize collets, because I couldn't read the manufacturer's name on them. It required a quick trip to the ultrasonic cleaner to reveal those details.


So far things are not looking all that great from a standpoint of completeness, which means I'd need to spend a lot to make this chuck whole. According to Colchester the cost of a cap is £286 plus carriage of £15 to be precise. That's just to be able to use 2 collets. Optionally, I can make a cap, and for less than the price of a new cap. 

Thanks to a few helpful people from the Colchester Lathe group I was able to obtain the dimensions of the missing front cap. Along with a few good photos of a complete ER Collet chuck and cap. 


The above drawing comes from the Colchester Lathe group, and is located in the "files" section of their site, under lathe accessories. Based on the information shared by members I created a fusion file of the cap and intended to make a test piece before machining, heat treating and grinding a new cap, whether I decide to retain this chuck or sell it to get cash in reinvest in the refurbishment of the lathe. 


Below was my back up plan 😎 

I found this rusted L0 mount collet chuck listed for sale locally. The cap is the same as for the D1-3 mount chuck I have, and I'd thought of salvaging the cap by bathing it in evoporust for a day or two, but the seller got extra greedy so I passed on it and the MC type collets he was selling with the chuck.


IF I wanted to keep and use this chuck there is a seller on ebay from Quebec Canada who has been trying to flog allegedly new old stock set of EC collets for $4000. So with a new cap the cost would be over $4500 CAD. Of course I could find cheaper used collets in the UK, but still...

That much money could pay for new front bearings if necessary.

Given the cost of EC collets and a new cap for my KC15 collet chuck I've decided that a 5C collet chuck would make far more sense. Additionally, since the Chipmaster is limited in the distance between centers I thought I'd make my own 5C collet chuck and draw bar.

This will preserve as much as my distance between centers as possible for smaller bar stock and should yield the best precision. I'll machine the chuck over size, heat treat it and then grind the parts to the finish dimensions. 

Such projects are why I was so thrilled to buy a surface grinder and a bunch of various grinding fixtures recently. I'll have to make a tool post grinder for this lathe in order to grind the internal tapers for the chuck.

The 5C collet adapter slips into the 4.5MT in the spindle, and also goes over the taper D1 nose taper to protect the nose from damage. Of course a draw bar (not shown) will pull the 5C collet adapter and collet both tight into the spindle bore. A threaded hole(s) in the adapter will allow cap screw to be tightened and push out the collet adapter if necessary. I haven't shown it in the images, but I'll put a captured brass push rod in the hole to prevent marring the spindle surface when using the extractor screw to free the chuck.


The inside of the collet adapter that goes over the spindle nose will have sufficient clearance so that the adapter does not bottom out on the nose, and can only seat in the 4.5MT of the spindle. I'll first finish grind the outside of the 4.5MT on the adapter on the surface grinder, then seat the adapter into the spindle and use an internal grinding wheel on the tool post to grind the final 5C dimensions on the inside of the adapter. The goal is near perfect concentricity so I can make sweet little engine parts.

So there is the solution to use collets for bar stock. This leaves a surplus partial KC15 Burnerd Chuck, and two EC collets. 

Coming up in part 2, the tool post.


Saturday, November 26, 2022

Vision Versus Reality

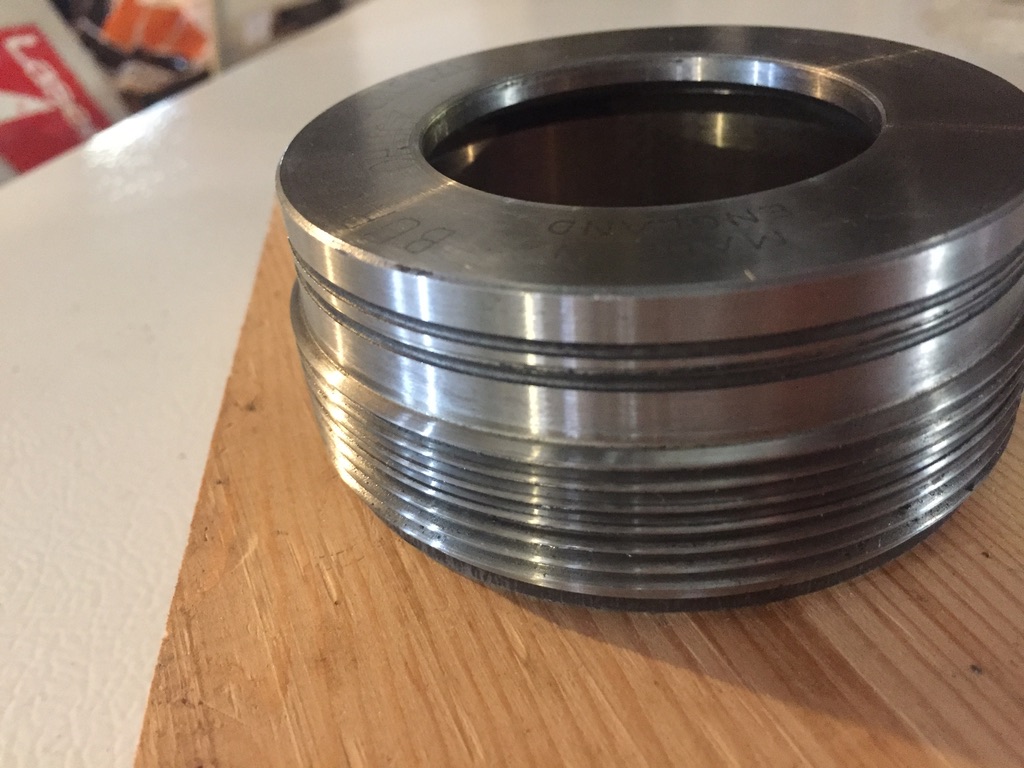
Since the Chipmaster was designed to use a coolant system and has a great splash guard, a deep rear coolant well and already has most of the parts from the coolant system with it I plan on using coolant when turning precision parts. 

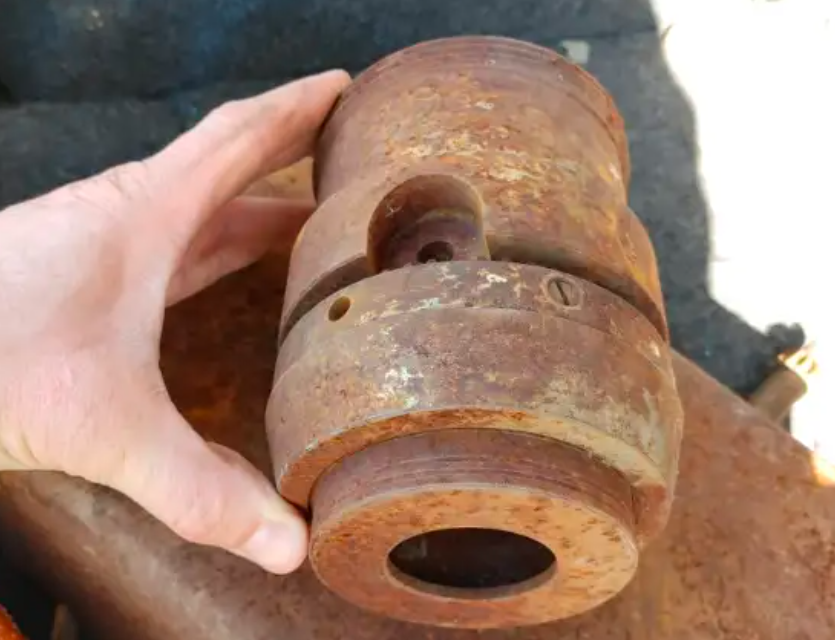
The current state of the lathe is pretty sad, there are plenty of chips out of the finish, gross flaking from filler detaching from the base metal, and spots where the paint, primer and filler have been entirely worn through. If it is to reside in a garage and last another 55 years it will need a new finish.

So in my minds eye I see this machine as a showpiece that I have stripped down to bare metal and carefully refinish with fillers and sanded smooth before applying a multiple coat automotive finish.

I'm aiming for a quality finish without going totally professional on the application and high end materials side of things.

My thought is to go with two coats of rattle can applied zinc chromate primer on the base metal to provide corrosion protection, a good base for applying fillers, and a matt surface that will allow me to judge where I need to apply thick filler to porosities in the casting and to assess where there will be a benefit of using a thin filler material prior to the next steps.

After the primer and filler application I'll use both a three step finish of:

Four coats of two pack cold cure epoxy high build MIO paint to achieve a dry film thickness of about 700 microns,

Two or more coats pearl automotive base coat paint,

Application of new labels, gearing charts etc, decals,

Two or more coats of urethane enamel clear coat.

I'm considering a colour scheme of orange main colour, purple contrast colour and matte black on the inside of the chip tray, motor housing, storage compartment and coolant sump.

I'm not yet decided on what this colour scheme will mean for the original signage plates, replacement rather than reuse is most likely. I may experiment with selective multi-colour anodising to create these plaques, or decals applied to aluminum plates. 


For those not familiar, selective anodizing is a multiple step process that makes it possible to combine the properties of two or more separate treatments on the same part, in this case two or more colours by masking off areas so that only selected areas get the desired treatment in each step.

I have access to anodizing company via a business that regularly has parts anodized. I was thinking that I can get the parts Type 2 anodized and take delivery of them within hours of the end of that process and then dye the plates myself with organic dyes in three steps.

The tricky part of attaining quality anodized layer of suitable thickness is left to the professionals, and I shall perform the hard selective dying process the professionals may not wish to perform.

I'd use a minimum of three dye colours, and use multiple masking layers of laser cut green polyester plating film. Orange base layer overlaid with purple and black layers to bring out orange text with two different colour surrounds. Dying of aluminum anodization does not always follow typical colour rules... but normally of you overlay purple on orange you will get brown. If this is the case I'd just have a more complicated masking task that required careful registration of the layer masks.

The goal, to recreate something like this:


But on aluminum where all text is orange, the red changed to deep purple, and the black being black of course. I hope that I don't fail but if I fail my fall back would be multiple coats of paint spray applied with similar masking techniques.

I anticipate that the greatest issue will be masking related, particularly getting smooth edges on the tiny cut out letters, and removing the cut out pieces from the masked part. I've seen similar issues when using same technique in spray painting. I will mask, then low power laser cut the masking film, then pick out the areas for the color I wish to dye. Rinse and repeat for each of the three colours I anticipate using.

I'll likely just seal with the same urethane clear coat I'll use as the final finish coat on my lathe.

If the masking is an issue I shall consider this other options

Option 1:

Dye the parts solid colours in their respective areas, and then use laser printer to mark the graphics. This of course means I'll only get white text on black and purple, unless the laser I use is strong enough to create a deep etch into which I can rub orange urethane paint.

Option 2: Have the plates lightly blasted to create dull matte finish. Plain anodize and dye orange. Then create waterslide decal of the graphic in black and red, and affix decal to the plate using water based urethane as follows:

Coat the plate with thin even coating of matte urethane... allow to tack up. Apply the wet decal by sliding it into position and then wipe off excess water with a damp sponge brush and tamp the decal into place. Then cover the decal with a clear plastic film and run the plate thru a cold laminating press. This should bond the decal sufficiently well so that it does not delaminate in the future.

Then I could cover with one or more coats of matte urethane to seal and protect the decal and to seal the edge of the decal (which must be smaller than the plate) so the edges don't lift. 

If I knew how it was done and had appropriate laser printer I try the Trumpf method of varying the depth of laser etch to expose the desired dye level from a multilayered anodised finish.


Learn to Juggle

One thing you learn if you watch the used metal working machine market, machines come up for sale very often that need to be moved ASAP. These scenarios represent the best opportunity to save a lot of money on a purchase.

I saved a lot of money on this lathe because the owners suddenly wanted to expedite the closure of their shop and because I was able to be nimble in planning and moving this lathe out of their shop on just a couple of day's notice. 

For anyone wanting to obtain deals on machinery my best advice is as follows:


build relationships with fellow hobbyists

learn to move equipment, 

practice moving equipment often (help others),

ask others for help,

always ask if the seller can help load the machines

and be decisive.

I applied all of these tips in my Chipmaster deal. 

I was able to be decisive and make an offer on the lathe without pausing to consider potential issues because I had long ago established the skills and relationships I needed to assure that I could remove this lathe from the premises of the owners without incident and within the timeline the owners required.

I was confident in my ability to move this lathe with ease, even alone if necessary. I was confident in being able to rely on several people for short term storage of the lathe in their own shops, and I was confident in being able to obtain assistance with moving the lathe on short notice.

Ultimately I relied on a new acquaintance to help move and store this lathe until space was available in my own shop. I met my friend at his place, where he had his trailer and pick-up truck ready to go. Upon arrival at the CNC shop we found the lathe loaded on a forklift and ready to go.


All we had to do was load it onto the trailer using the fork lift. Seemed easy enough. Except the lathe was one inch wider than the trailer. This brings us to a very important issue... know your weights and dimensions and ensure that your trailer and vehicle are able to handle the load.

In our case we could simply remove the side access cover and gain the necessary clearance. Which brings up point number two. Bring tools.


Ensure that your load cannot shift sideways or front to back. Be especially mindful of top heavy loads like Bridgeport Mills. The Chipmaster is great, it has a tripod shaped base with a wide footprint for extra stability. No pallet was necessary, just two landscaping ties placed under the stand to allow access for tow motor forks..


Make sure the tie down points are attached to something solid, not just screwed into wood slats in the trailer bottom. Check your load after you've driven a short ways away to see if anything worked loose. My friend Brian took the back roads home, but this load was so secure we could have sped along the highway just fine.

I missed getting pics of the off loading, but it was the loading in reverse. Picked off trailer with forks on a tractor. Lowered onto a pallet inside the shop doors.


Then we wheeled the pallet to the rear of the shop and dropped it in and out of the way corner. We took the splash pan off to get the lathe closer to the wall. There it will sit for a couple of weeks until I can return with a trailer and a tool and cutter grinder to give to my friend Brian.


Friday, November 25, 2022

Blind Luck Locates a Treasure

If you too spent over a decade looking for a reasonably priced Colchester Chipmaster lathe, you might just want to ask me "How did you find your Chipmaster lathe?"

I could feed you a line about persistence, daily scanning for-sale ads, networking within the metal working community and such but, while I did those all those things in my case it was more a matter of dumb luck. 

In the end it was the fact that after two years of pandemic imposed solitude I was in a much more chatty mood than I normally am that scored me the lathe. While visiting an out of town CNC grinding facility that was closing down to buy diamond wheels I ended up having a rather long conversation with one of the owners about life in general, my brother and my shop adventures, his brother and his impending retirement, and the grinding machines and tooling they were selling. I made the offhand remark about having recently converting our lathe to variable speed operation when they shop owner said "I have a lathe, would you like to see it?"

I've never said no to such a question, so I followed the gentleman as he exited the building and walked a few buildings down to a garage like building. Along the way I passed a few nice old grinders rusting away in the elements, thinking "how sad is that?"

Once through the door low and behold what do I see? None other than a older model Chipmaster. Like everything else on the premises it was for sale. 


I was totally taken aback, and totally unprepared for such a sight. I did not want to lose the opportunity to buy this lathe but was not in a position to leave a down payment, and I didn't know what my budget would allow as an offer since my brother and I were in the midst of planning purchases at two upcoming auctions.

I told the owner that I was very very interested, but I wanted to bring my brother back to see then lathe, and test it out prior to making an offer. I'd wanted to make a fair offer, and knew that the market price for a Chipmaster was over $2500 for even a brutally beaten example. I departed with great excitement and dread fearing that someone else would make an offer before I could return. The following pics arrived in my inbox before I got home:


Days later before I could schedule a return visit the owner emailed me saying someone else came by and saw the lathe and offered $500. The guy is a stand up citizen and said to that other person I think it is already sold, and gave me the chance to make an offer. So I immediately replied well I'll offer you $750 right now without any inspection or test running of the lathe. If he was impatient enough to accept a low ball offer, I could be okay making one if it meant foregoing the inspection. 

Sheer dumb luck and a low ball offer won the day. 


Prize, or Pig in a Poke 2.0

I noticed the tool post when I first saw the lathe and suspected immediately based on the appearance of the tool post and tool holders that ...